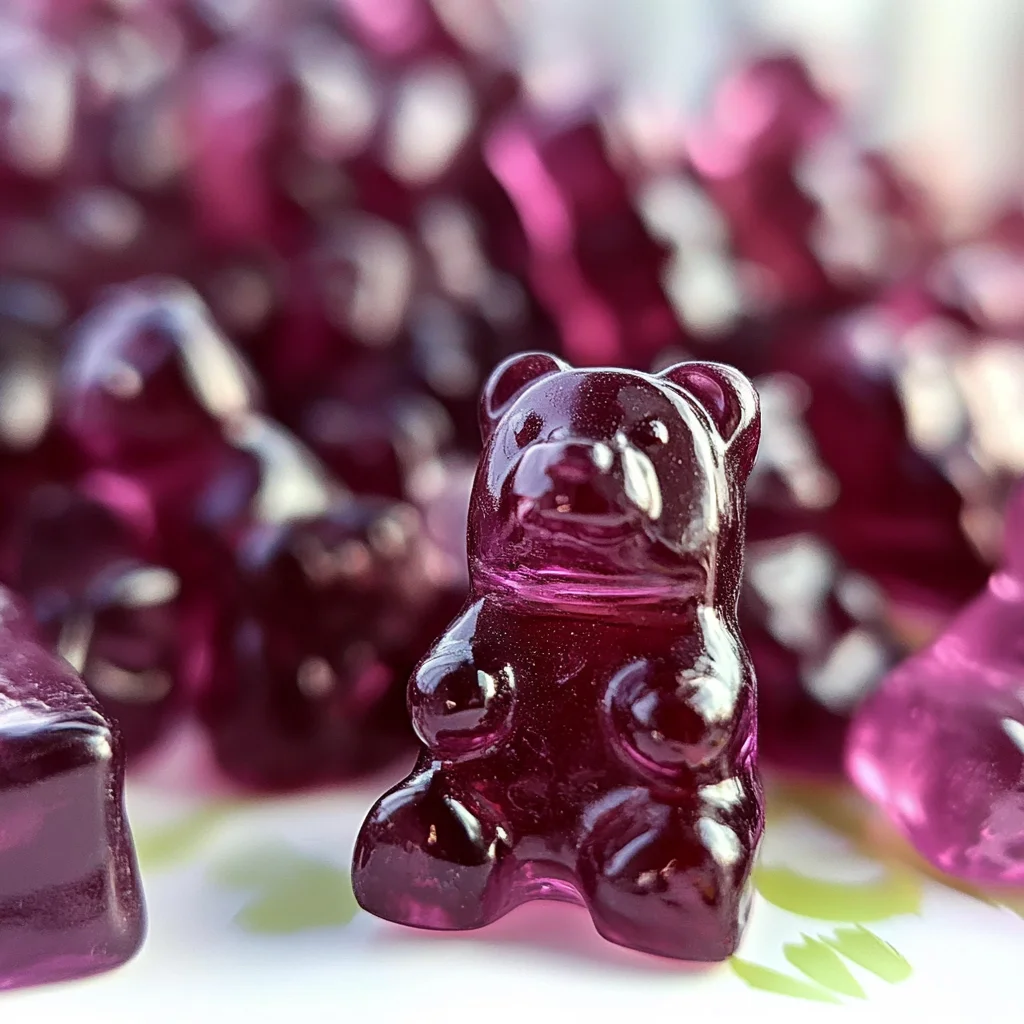
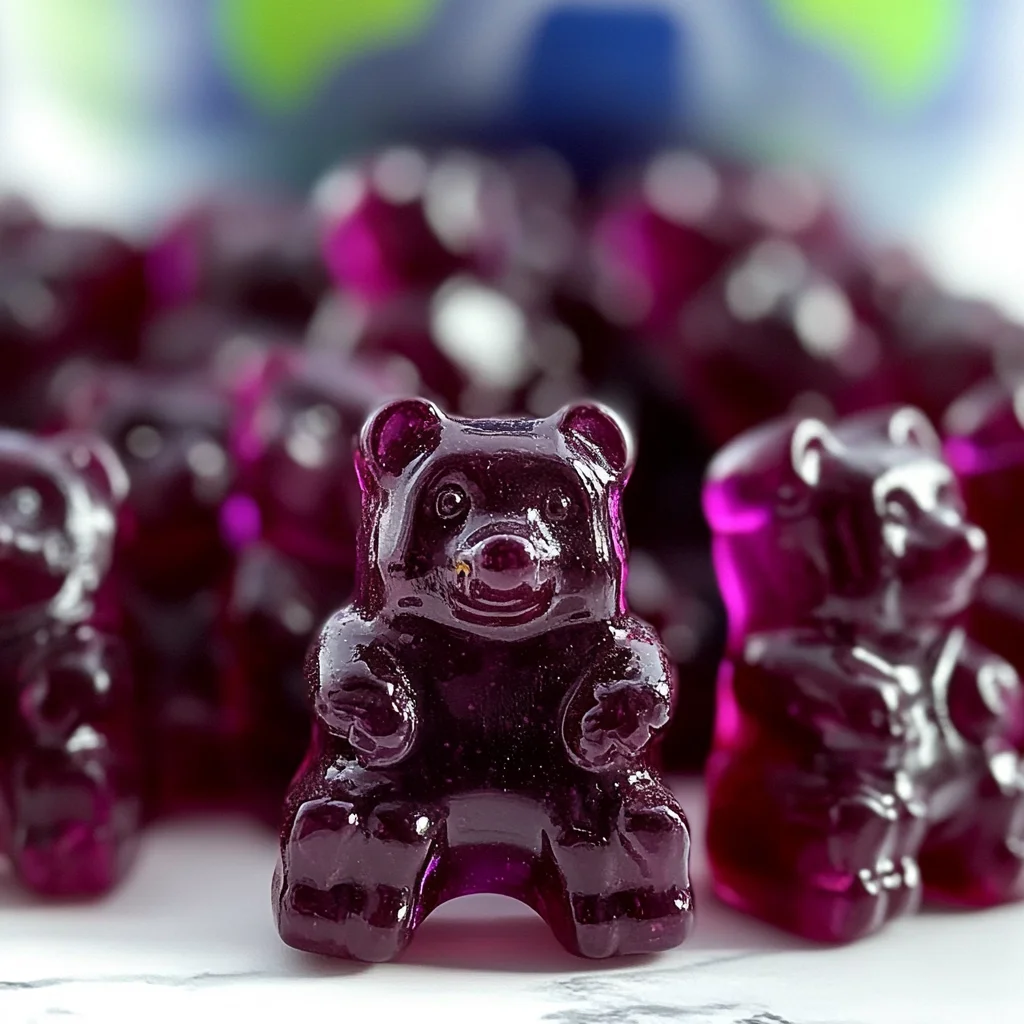
These delightful Elderberry Gummy Bear Recipe treats are a fun and healthy way to boost your family’s immune system while satisfying their sweet tooth. Perfect for snacking, these gummy bears are not just tasty but also packed with nutrients like vitamin C and elderberry syrup. Whether for school lunches, after-school snacks, or family gatherings, these homemade gummies are sure to be a hit!
Jump to:
- Why You’ll Love This Recipe
- Tools and Preparation
- Essential Tools and Equipment
- Importance of Each Tool
- Ingredients
- Base Ingredients
- Gelatin and Additives
- How to Make Elderberry Gummy Bear Recipe
- Step 1: Prepare Molds
- Step 2: Heat Liquid Base
- Step 3: Add Gelatin
- Step 4: Mix in Immune Boosters
- Step 5: Fill Molds
- Step 6: Chill to Set
- Step 7: Remove & Store
- How to Serve Elderberry Gummy Bear Recipe
- Snack Time Treats
- Lunch Box Additions
- Party Favors
- Post-Workout Boost
- Family Movie Night Snacks
- How to Perfect Elderberry Gummy Bear Recipe
- Best Side Dishes for Elderberry Gummy Bear Recipe
- Common Mistakes to Avoid
- Storage & Reheating Instructions
- Refrigerator Storage
- Freezing Elderberry Gummy Bear Recipe
- Reheating Elderberry Gummy Bear Recipe
- Frequently Asked Questions
- How do I make my elderberry gummy bears taste better?
- Can I use other sweeteners instead of honey?
- How long does it take to set my elderberry gummy bears?
- Can I make this Elderberry Gummy Bear Recipe vegan?
- Final Thoughts
- 📖 Recipe Card
Why You’ll Love This Recipe
- Immune Support: The combination of elderberry syrup and vitamin C helps boost immunity for the whole family.
- Kid-Friendly: These gummy bears are easy to make and perfect for little hands to enjoy.
- Naturally Sweetened: Made with honey and grape juice concentrate, they offer a healthier alternative to store-bought gummies.
- Quick Preparation: With just 30 minutes of prep time, you can whip up a batch in no time.
- Customizable: Feel free to experiment with different juices or flavors to suit your family’s taste.
Tools and Preparation
To create your homemade elderberry gummy bears, you’ll need a few essential tools. Having the right equipment will make the process smooth and enjoyable.
Essential Tools and Equipment
- Silicone gummy bear molds
- Small saucepan
- Whisk
- Baking sheet or tray
- Dropper or small spoon
Importance of Each Tool
- Silicone gummy bear molds: These allow for easy removal of the gummy bears without sticking.
- Small saucepan: Ideal for heating the liquid base without boiling it.
- Whisk: Ensures that the gelatin dissolves properly, creating a smooth mixture.
Ingredients
These homemade immune-boosting elderberry gummy bears are made with simple ingredients:
Base Ingredients
- 1/4 Cup 100% Welch’s grape juice concentrate
- 3/4 Cup water
- 4 Tbsp. honey
Gelatin and Additives
- 4 Scoops Vital Proteins Beef Gelatin
- 2 Tbsp. Gaia Black Elderberry Syrup
- 1 Tbsp. Vitamin C Crystals
How to Make Elderberry Gummy Bear Recipe
Step 1: Prepare Molds
Place silicone gummy bear molds on a baking sheet or tray. This keeps them level when you move them to the fridge. If you don’t have molds, lightly grease a small baking dish or line it with parchment so you can cut into squares later.
Step 2: Heat Liquid Base
In a small saucepan, combine grape juice concentrate, water, and honey. Warm gently over medium heat until hot and steaming but do not let it boil.
Step 3: Add Gelatin
Remove the pan from heat. Sprinkle in the gelatin one scoop at a time, whisking well after each scoop so it fully dissolves. The mixture should become smooth and slightly thicker.
Step 4: Mix in Immune Boosters
Once gelatin is completely dissolved, whisk in the elderberry syrup and vitamin C crystals until the mixture is glossy and uniform.
Step 5: Fill Molds
Using the dropper that comes with gummy bear molds (or a small spoon), carefully fill each cavity. Work steadily as the mixture will begin to set as it cools.
Step 6: Chill to Set
Place the tray with molds in the refrigerator. Allow gummies to firm up for about 15–20 minutes.
Step 7: Remove & Store
Pop gummies out of the molds and transfer them to an airtight container. Keep refrigerated; they’ll stay fresh for up to 2 weeks.
Enjoy making this delicious Elderberry Gummy Bear Recipe! They are not only enjoyable but also support your family’s health in every bite!
How to Serve Elderberry Gummy Bear Recipe
These delightful elderberry gummy bears are not only tasty but also boost your family’s immune health. There are many fun ways to serve them that kids will love!
Snack Time Treats
- These gummy bears make a perfect afternoon snack for kids. Their sweet taste combined with the health benefits of elderberry syrup will keep little ones energized.
Lunch Box Additions
- Add a few gummy bears to your child’s lunch box for a fun surprise. They pair well with sandwiches and fruit.
Party Favors
- Consider packing gummy bears in small bags as party favors for birthdays or playdates. Kids enjoy them, and they are a healthier option compared to traditional candy.
Post-Workout Boost
- After sports or physical activities, these gummy bears serve as a great natural energy booster. The Vitamin C and elderberry help replenish nutrients lost during exercise.
Family Movie Night Snacks
- Enjoy these gummy treats while watching a family movie. They make an excellent alternative to popcorn and candy.
How to Perfect Elderberry Gummy Bear Recipe
To ensure your elderberry gummy bear recipe turns out perfectly every time, follow these helpful tips.
- Use high-quality ingredients: Opt for organic elderberry syrup and pure grape juice concentrate for the best flavor and health benefits.
- Control the sweetness: Adjust the amount of honey based on your taste preference, keeping in mind that the grape juice is naturally sweet.
- Check gelatin quality: Choose grass-fed gelatin for better texture and health benefits. This can enhance the chewiness of your gummies.
- Avoid boiling the mixture: Heating too much can affect the properties of gelatin, so make sure it stays hot but does not reach a boil.
- Chill thoroughly: Make sure to chill your gummies long enough for them to set properly. Rushing this step may result in gooey bears.
- Experiment with flavors: Feel free to add other fruit juices or extracts for varied flavors. Just ensure they complement elderberry!
Best Side Dishes for Elderberry Gummy Bear Recipe
Elderberry gummy bears can be paired with various side dishes that complement their sweetness while adding nutrition. Here are some great options:
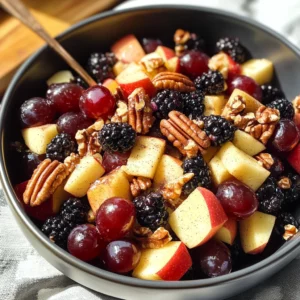
- Fresh Fruit Salad
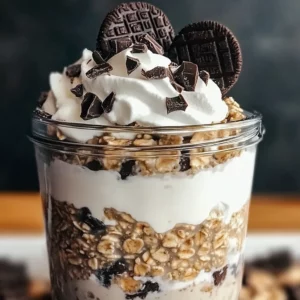
A colorful mix of seasonal fruits provides vitamins and complements the sweetness of the gummy bears. - Yogurt Parfait
Layer yogurt with granola and berries for a creamy treat that balances textures and flavors. - Cheese and Crackers
A platter of assorted cheeses paired with whole-grain crackers makes a savory contrast to sweet gummies. - Veggie Sticks with Hummus
Crisp vegetables like carrots and cucumbers served with hummus offer crunch and nutrition alongside your treats. - Nut Butter Dip
Slice up apples or bananas and serve them with almond or peanut butter for a protein-packed snack that pairs well. - Granola Bars
Homemade or store-bought granola bars can provide an additional chewy texture that kids will enjoy along with their gummies. - Mini Sandwiches
Small sandwiches filled with turkey, cheese, or veggies can create a balanced meal when served alongside gummy bears. - Smoothie Bowls
A refreshing smoothie bowl topped with nuts, seeds, and fruits creates a nutritious option that kids will love!
Common Mistakes to Avoid
Making elderberry gummy bears can be simple, but avoid these common mistakes for the best results.
- Overheating the mixture: Heating the liquid base too much can ruin the texture. Always warm gently and do not let it boil.
- Not whisking properly: If you don’t whisk in the gelatin slowly, it can clump. Add one scoop at a time and mix well after each addition.
- Skipping the chill time: Rushing this step can lead to gummies that don’t set properly. Allow them to chill for a full 15–20 minutes.
- Ignoring storage tips: Improper storage can affect freshness. Use an airtight container and keep refrigerated for up to two weeks.
- Using low-quality ingredients: Quality matters! Using high-grade gelatin and pure elderberry syrup ensures better flavor and health benefits.
Storage & Reheating Instructions
Refrigerator Storage
- Store in an airtight container to maintain freshness.
- Gummies will last for up to 2 weeks in the fridge.
Freezing Elderberry Gummy Bear Recipe
- For longer storage, place gummies in a freezer-safe bag or container.
- They can last up to 3 months in the freezer.
Reheating Elderberry Gummy Bear Recipe
- Oven: Preheat to 200°F (93°C) and warm gummies on a baking sheet for a few minutes.
- Microwave: Heat on low power for about 10 seconds, checking frequently to avoid melting.
- Stovetop: Not recommended as it may alter texture, but if necessary, use very low heat with caution.
Frequently Asked Questions
Here are some common questions about making the Elderberry Gummy Bear Recipe.
How do I make my elderberry gummy bears taste better?
You can enhance flavor by adding more fruit juice or using flavored gelatin. Experiment with different juices like apple or cranberry!
Can I use other sweeteners instead of honey?
Yes, feel free to swap honey with maple syrup or agave nectar for a different sweetness level while keeping it natural.
How long does it take to set my elderberry gummy bears?
Typically, they take about 15–20 minutes in the refrigerator to firm up completely before removing from molds.
Can I make this Elderberry Gummy Bear Recipe vegan?
To make it vegan, consider using agar-agar instead of beef gelatin. Adjust the liquid ratios as needed since agar-agar has different properties.
Final Thoughts
This Elderberry Gummy Bear Recipe is not just fun but also a great way to boost your family’s health. It’s easy to customize with different flavors or shapes, making it perfect for kids and adults alike. Try making these delightful gummies today!
Did You Enjoy Making This Recipe? Please rate this recipe with ⭐⭐⭐⭐⭐ or leave a comment.
📖 Recipe Card
Print
Elderberry Gummy Bear Recipe
- Total Time: 30 minutes
- Yield: Approximately 30 gummy bears 1x
Description
Looking for a fun and nutritious way to enhance your family’s immune system? These Elderberry Gummy Bears are the perfect solution! Packed with the goodness of elderberry syrup and vitamin C, these homemade treats are not only delicious but also a great way to support your health. With a naturally sweet flavor from honey and grape juice concentrate, kids will love snacking on these gummy bears anytime—be it in lunch boxes or during family movie nights. Easy to make in just 30 minutes, this recipe is customizable to suit your taste preferences. Get ready to boost immunity while satisfying those sweet cravings!
Ingredients
- 1/4 cup 100% Welch's grape juice concentrate
- 3/4 cup water
- 4 tablespoons honey
- 4 scoops Vital Proteins Beef Gelatin
- 2 tablespoons Gaia Black Elderberry Syrup
- 1 tablespoon Vitamin C Crystals
Instructions
- Prepare silicone gummy bear molds on a baking sheet.
- In a small saucepan, combine grape juice concentrate, water, and honey; heat gently until steaming (do not boil).
- Remove from heat and whisk in gelatin one scoop at a time until fully dissolved.
- Mix in elderberry syrup and vitamin C crystals until smooth.
- Fill molds using a dropper or small spoon.
- Chill in the refrigerator for 15–20 minutes until set.
- Pop out gummies and store in an airtight container.
- Prep Time: 10 minutes
- Cook Time: 20 minutes
- Category: Dessert
- Method: N/A
- Cuisine: N/A
Nutrition
- Serving Size: 1 gummy bear (7g)
- Calories: 18
- Sugar: 3g
- Sodium: 0mg
- Fat: 0g
- Saturated Fat: 0g
- Unsaturated Fat: 0g
- Trans Fat: 0g
- Carbohydrates: 4g
- Fiber: 0g
- Protein: <1g
- Cholesterol: 0mg